Surface topography and integrity after finishing operations
G enerating desired functional properties on surfaces remains a challenging scientific and industrial problem. For example, the metal surface appearance is affected by: topography, structure, and microlayers. In [1], surface topography was studied with regard to aesthetics and shininess. The gloss was with a glossmeter kindly donated by Zehntner GmbH Testing Instruments. Further studies on surface roughness parameters in 2D and 3D suggested a procedure to select parameters as performance index [2]. In particular, scale-area analysis and functional roughness parameters need to be considered for a holistic and robust evaluation. In a collaboration with Prof. Jörg Seewig, MTS, University of Kaiserslautern, angle-resolved scattered light sensors were used to assess surface topography changes in vibration finishing processes [3].
Further studies analyzed surface integrity with respect to microstructure, roughness and wettability after manual abrasive machining [4], or how vibratory finishing leads to higher anisotropy on the surface [5].
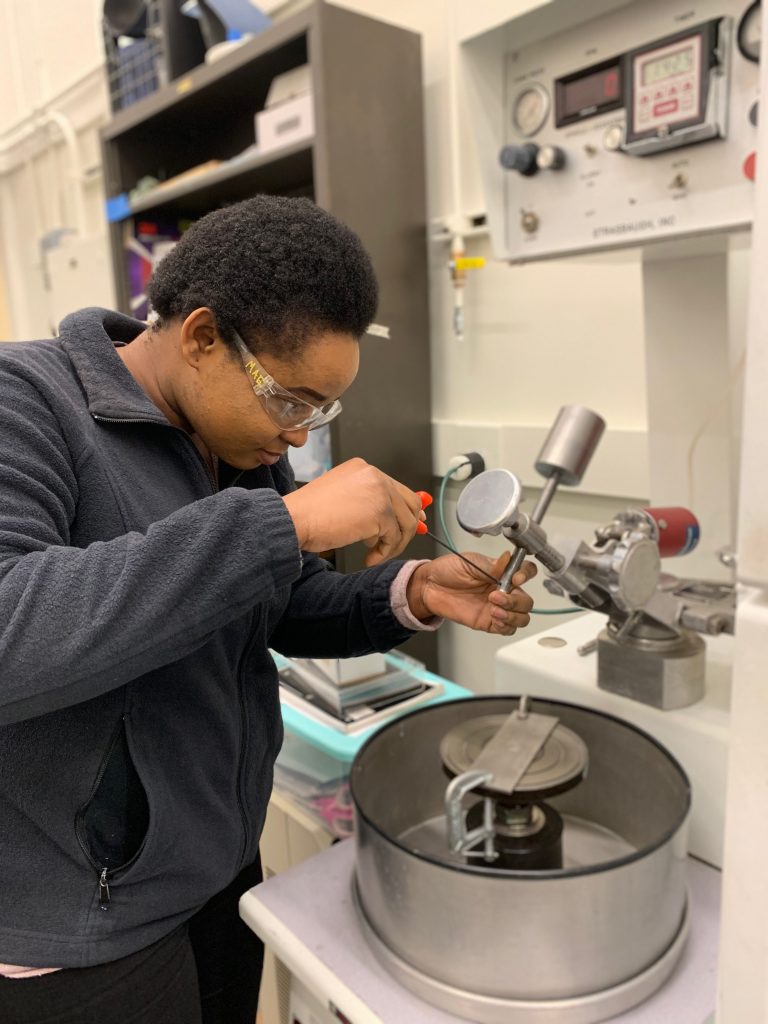
Single grit scratch tests with a polishing machine further enhance our understanding of the abrasive machining process.
 Publications:
- Linke, B., Das, J.: Aesthetics and Gloss of Ground Surfaces – A Review on Measurement and Generation, ASME Journal of Manufacturing Science and Engineering, J. Manuf. Sci. Eng 138(6), 064501 (Mar 09, 2016), doi:10.1115/1.4032587, 2016
- Das, J., Linke, B.: Evaluation and systematic selection of significant multi-scale surface roughness parameters (SRPs) as process monitoring index, Journal of Materials Processing Technology, Volume 244, June 2017, Pages 157–165, http://dx.doi.org/10.1016/j.jmatprotec.2017.01.017
- Torner, F.; Das, J.; Stelzer, G.; Linke, B.; Seewig, J.: Fundamental Analysis of the Usability of an Angle-resolved Scattered Light Sensor for Monitoring Vibration Finishing Processes Based on Ray Tracing Simulations, Applied Mechanics and Materials Vol. 869, Physical Modeling for Virtual Manufacturing Systems and Processes IRTG Conference 2017, Speyer, Germany, p.115 ff
- Das, J.; Linke, B.: Effect of Manual Grinding Operations on Surface Integrity, Proceedings of the 3rd CIRP Conference on Surface Integrity (CIRP CSI), Charlotte, NC, USA, June 8 -10, 2016, https://doi.org/10.1016/j.procir.2016.02.091
- Matthias Eifler, Ian C. Garretson, Barbara S. Linke, Jayanti Das, Francois Torner, Jörg Seewig, Effects of vibratory finishing of 304 stainless steel samples on areal roughness parameters: A correlational analysis for anisotropy parameters, Journal of Materials Processing Technology, Volume 273, 2019, 116256, ISSN 0924-0136, https://doi.org/10.1016/j.jmatprotec.2019.116256
